One of my latest obsessions is finding clothes at second-hand stores that are
meh, to say the least, and refabbing them into something awesome. My most recent find was this boring and ill-fitting dress. I liked it because it has kind of a vintage feel to it, but I was not crazy about it the way that it was.
 |
| Before. Blah. |
Now, please, keep in mind, I am not a seamstress. I am a girl with a basic understanding of how to operate a sewing machine. My methods may not always be right, but they work for me! (Usually.) So I gathered some supplies...the dress, pink thread, black thread, some black matte fabric paint, ribbon, black double fold bias tape, and a heart shaped pop-up punch. I also had some black tulle, but I decided not to use it.
First things first...I needed it to fit me! Since it's strapless, I wanted to make sure it wouldn't fall down. So I started by cutting off the weird trim at the top and bringing in the bodice about two inches. I also cut off the excess fabric so that it would lay flat.
Next, I added some awesome ribbon (also from the thrift store) to the top edge. For me, this served two purposes...most importantly, it looks killer. Secondly, it covered up some ugliness from where I cut off the trim at the top. Before I added the ribbon, though, I folded the ends under and sewed them so the raw edge wouldn't come unraveled. Then, I just pinned it to the dress, and sewed it in place! It's looking better already!


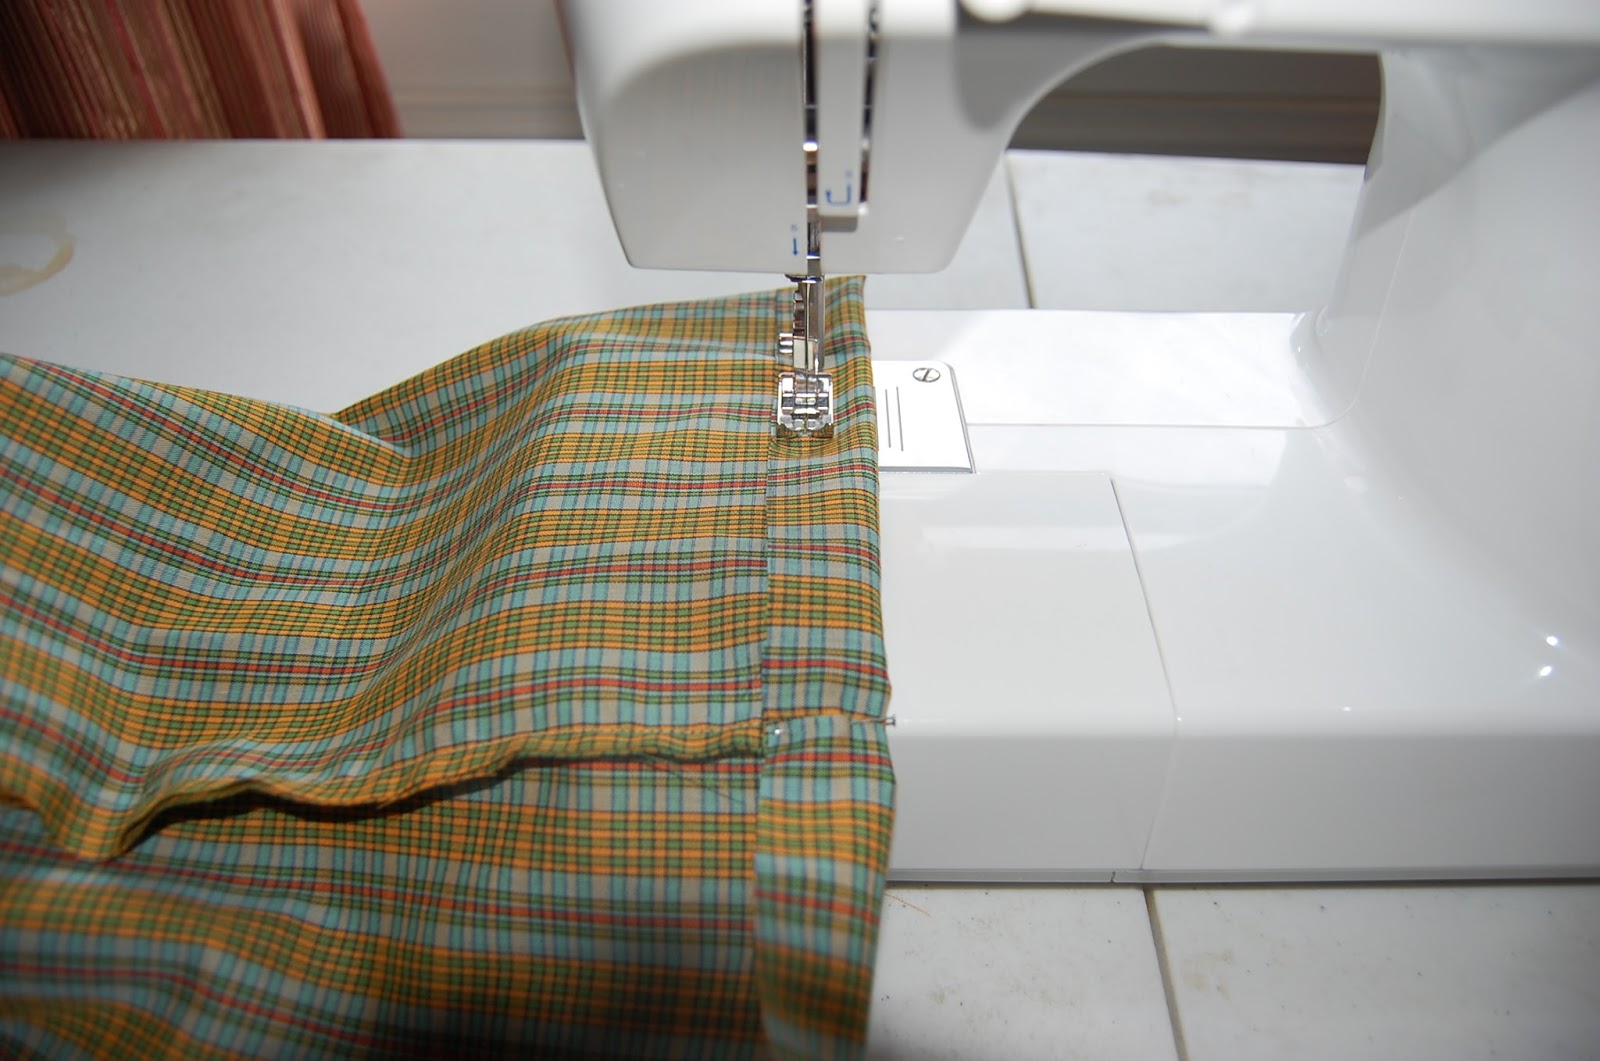
The dress was a little long for my tastes, so I cut about six inches off of the bottom. Since I am lazy, and didn't want to take the time to hem the bottom of the dress, I pinned the black bias tape all the way around the bottom and sewed it in place. This solved my problem of the raw edge at the bottom, and it looked awesome. Even after this stuff, I thought it still needed a little something extra. Here comes the fabric paint. First, I used the pop-up punch to cut a heart shape out of some card stock I had. Then, I painted the heart onto the bottom of the dress.

After that was dry, I ironed the dress, and
Taa-Daa!!
Check out the before and after...
 |
| Before =( |
 |
| After! =) |
Waaaaaay better, right? All together, with the dress and supplies, it cost me about $7.00 to do. Now I just need somewhere to wear it!


