07 October 2013

I really "need" another dress.

I looked in my closet the other day and thought to myself, "I really need another dress."  Keep in mind that need is a relative term.  This is what I made...


Now, let me show you how I made it!

First, I found some fabric.  I actually bought this fabric about five years ago, and I have no idea where I got it or why.  But when I saw it in my stash, I knew it would work for this project.


I decided the easiest way to make this dress without a pattern or really knowing anything was to find some items I already have in order to get the shape I wanted.  I used this black BCBG dress for the bodice shape, and this polka dot skirt from Forever 21 for the shape and length of the bottom.  Just lay them on there, and trace around them, leaving a little extra for a seam allowance!


Cut, cut, cut!


After cutting out the pieces, I pinned them together to see how the dress was going to fit.  Here's where I messed up...I didn't leave enough extra room for a seam allowance, so there was no way the dress was going to fit me (apparently I am wider than I thought!).  I problem solved my way out of this one by cutting some extra fabric and sewing it onto both sides of the front piece, like this!

Problem solved!

This added a little bit more width to dress so I could get it over my butt, and it added a neat design element.  Don't worry, you'll see in the end.  Next, I sewed the front and back together, and then I got started on the opening for the zipper and the vent in the back (so I can walk!).  

I hate putting in zippers.  Very much.  But there was no way I would be able to get this dress on without one.  I tried to follow the directions on the package, but it seemed more complicated than it needed to be.  
 
"Iron the zipper?"  Why?!?

I gave up on the directions and just sewed the zipper to my opening fully expecting I was going to have to either rip it off of there or just throw the whole dress away.  Surprisingly, it turned out great!  In order to get the dress to fit me right, I had to add in some significant darts in the front and back.  I also realized that the top of the dress was a little see-through, so I decided to use some of the extra fabric to line the top of the dress.  Like this!


I added some edging at the top since it looked a little blah.  I paired it with some "pearls" (every woman should own a set of pearls...just don't tell anyone that mine aren't real and I got them at a garage sale for 75 cents!), and voila!  


Boom!!


30 August 2013

Refab! Plaid Do-Over

So, about a month ago, I found this dress at a local second hand store.  It was about 6 sizes too big for me, and was just kind of weird.  It had buttons, and pockets, and weird sleeves, and strange side pleats.  The up side?  I loved the plaid because it is so retro!  But this monster definitely needed some help.
What is this??
I knew for sure I wanted to keep the buttons, but nearly everything else had to go.  So I started by taking off the pocket, sleeves, and strange side pleats.  

After all of that, I was left with this beauty!
Help!!
Please help me!!

I got to work trying to make this beast fit.  This took a while.  How I do this is I put the dress on inside out and then just start pinning it smaller until it fits.  Sometimes I have to make a few adjustments to make sure my seams are straight before I sew it up, but this seems to work pretty well for me.  Now, if I only had a dress form!  Aaaah...the things I could do.  Back to work!
Could it be????
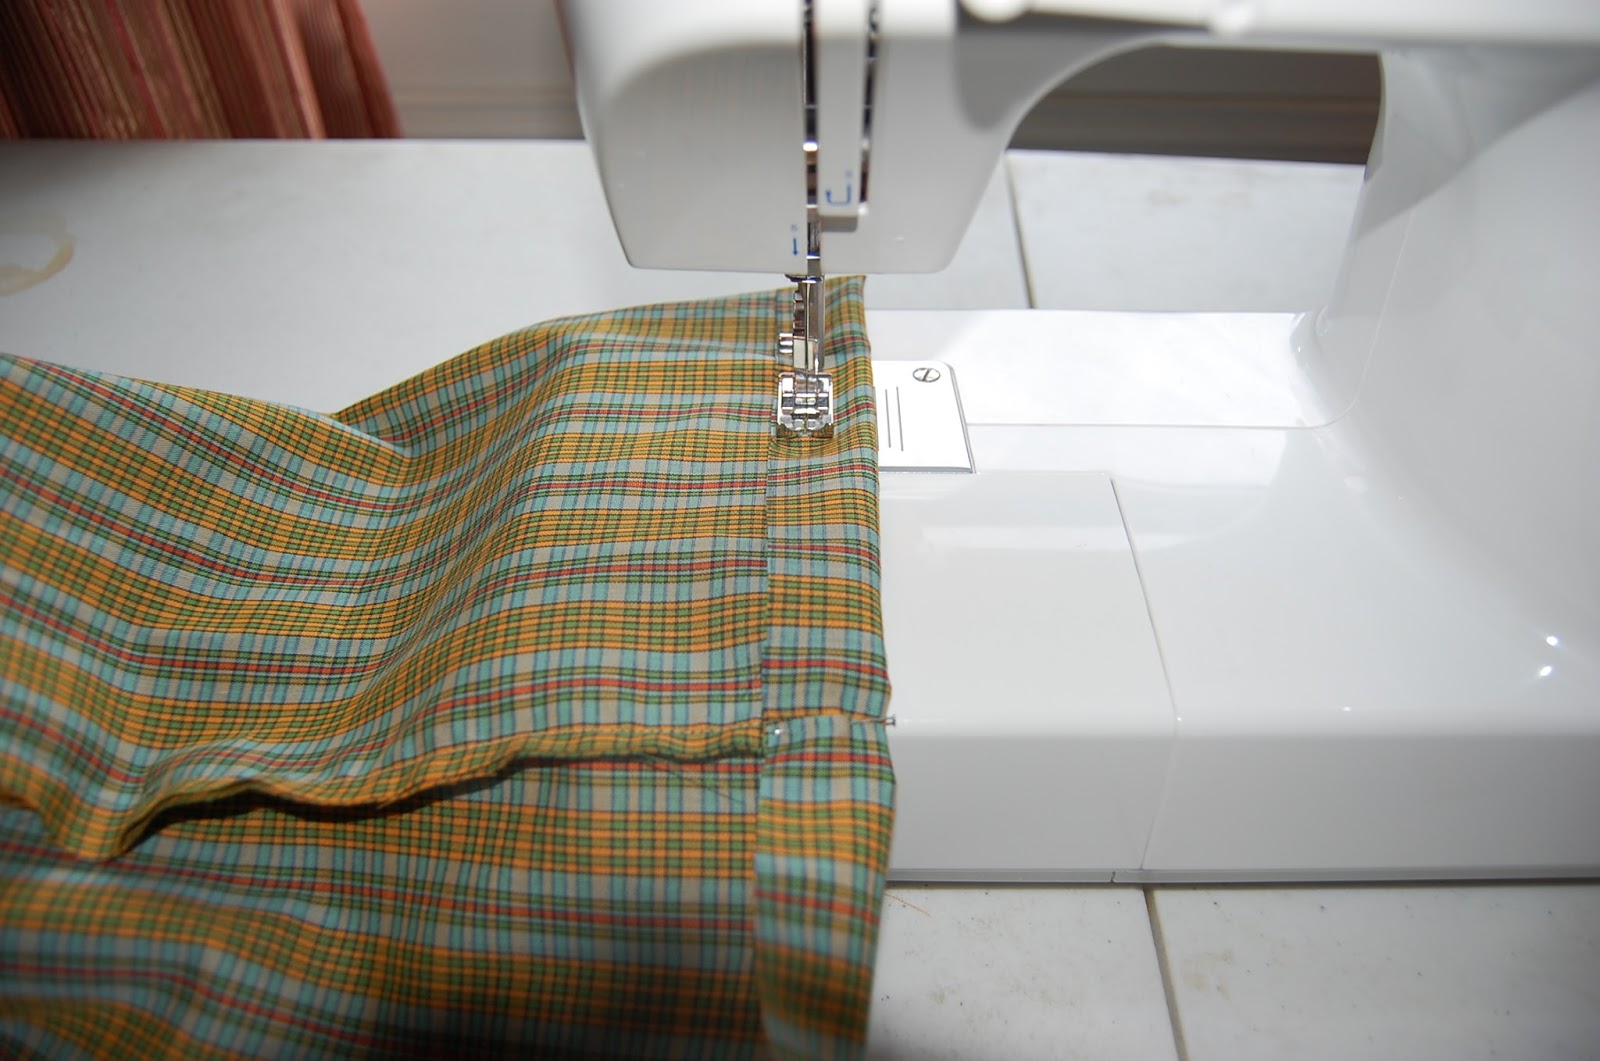
After bringing in the sides, the dress still did not quite fit.  There was still way too much fabric in the back.  My solution?  Darts!  Basically, I laid the dress out flat and pinned where the fabric refused to lay down.  Very scientific.  


Why is this picture sideways? 
Whirrrrrr!
Finally!!!  It fit!  Now for those sleeves.  I can't say that I have ever sewn sleeves before, at least not successfully.  So, needless to say I was a little nervous about this.  I came up with a plan.  I found an oxford-style shirt in my closet that was a similar fabric and had a sleeve shape that I liked.  Then, I just laid my pieces of fabric over that shirt and used it as a template!  To my surprise, it actually worked!  On the first try!  
I do need two sleeves.  

Now, pin that sleeve!

I sewed those babies in place.  It was all downhill from here!  All I had left was to hem the bottom (I shortened it up quite a bit from the original) and hem the edges of the sleeves.  

Dexter, the refab overseer.  He approves!

A little steam, and voila!  My new favorite dress for Autumn!  


I prefer the Before and After Side By Side Mind Explosion: 

10 August 2013

Thrift Store Refab!!

One of my latest obsessions is finding clothes at second-hand stores that are meh, to say the least, and refabbing them into something awesome.  My most recent find was this boring and ill-fitting dress.  I liked it because it has kind of a vintage feel to it, but I was not crazy about it the way that it was.

Before.  Blah.  

Now, please, keep in mind, I am not a seamstress.  I am a girl with a basic understanding of how to operate a sewing machine.  My methods may not always be right, but they work for me!  (Usually.)  So I gathered some supplies...the dress, pink thread, black thread, some black matte fabric paint, ribbon, black double fold bias tape, and a heart shaped pop-up punch.  I also had some black tulle, but I decided not to use it.  

First things first...I needed it to fit me!  Since it's strapless, I wanted to make sure it wouldn't fall down.  So I started by cutting off the weird trim at the top and bringing in the bodice about two inches.  I also cut off the excess fabric so that it would lay flat.  

Next, I added some awesome ribbon (also from the thrift store) to the top edge.  For me, this served two purposes...most importantly, it looks killer.  Secondly, it covered up some ugliness from where I cut off the trim at the top.  Before I added the ribbon, though, I folded the ends under and sewed them so the raw edge wouldn't come unraveled.  Then, I just pinned it to the dress, and sewed it in place!  It's looking better already!

The dress was a little long for my tastes, so I cut about six inches off of the bottom.  Since I am lazy, and didn't want to take the time to hem the bottom of the dress, I pinned the black bias tape all the way around the bottom and sewed it in place.  This solved my problem of the raw edge at the bottom, and it looked awesome.  Even after this stuff, I thought it still needed a little something extra.  Here comes the fabric paint. First, I used the pop-up punch to cut a heart shape out of some card stock I had.  Then, I painted the heart onto the bottom of the dress.  


After that was dry, I ironed the dress, and Taa-Daa!!


Check out the before and after...

Before =(
After! =)


Waaaaaay better, right?  All together, with the dress and supplies, it cost me about $7.00 to do.  Now I just need somewhere to wear it!

10 June 2012

Garden War: Round 2

The weeds may have won a few battles in the garden last year, but I believe I won the war.  I had so many tomatoes, zucchinis, and squashes that I did not know what to do with it all (other than schlepping it off on every person who came to my house in the months of July and August).

I used last year's yields to help me plan this years garden and make a few changes.  My favorite thing about last year's garden was the beans.  I had never grown beans or really had them fresh very many times, and I was blown away by how awesome they were.  So, this year, I planted six different varieties of beans and about 12 plants of each variety.  I know, I know, I am probably going to be drowning in a sea of beans by the end of the Summer, but it will be a delicious sea full of yellow, green, purple, and yellow and purple striped bean pods!! 

As far as the tomatoes, I learned my lesson.  Last year, I planted about 16 tomato plants that produced enough tomatoes to satisfy all of Italy for a year.  This year, I only planted 12; it's not much less, but it is less.  I just like canning them so much that I was unwilling to plant any fewer than a dozen. 

I decided that last year's potatoes required more work than I was willing to do for too little yield, so no potatoes this year.  I did, however, plant about twice as many broccoli plants that all did great!  The four cabbages I planted have had me saying to myself, "What am I going to do with all this cabbage?  Perhaps more egg rolls!!" 

While I am definitely still battling weekly with the weeds (and losing about 50% of the time), overall, the garden looks like it is doing well, and it is only June!  Here's to a Summer full of vegetable deliciousness!!

15 March 2012

roxy the foxy

Oh, the things that happen.

Last Saturday, the dogs were in the backyard barking for-ev-er.  I finally went outside to get them, and I realized there was something on the other side of the fence.  At first glance, I thought, "Great.  It's a kitten."  I was not excited at all about it potentially being a kitten.  I actually started thinking, "What am I going to do with a kitten?  Who can I pawn it off on?"  But when it made a weird hyena-like noise, I realized it was most definitely not a kitten.  Upon further inspection, I realized it was indeed a baby fox!


This probably goes without saying, but I proceeded to run inside screaming.  I found Matt, and demanded he come out to look at it.  He just leaned over the fence, picked it up, and carried it inside.  The whole time, I'm following him saying, "Oh my god, you are carrying a fox."

After some quick research, we determined that it was about 12 days old and that we could feed it preemie formula.  As you can imagine, I immediately went to the store and got some formula.  When we found her she was about 10 inches long (without her tail) and 4 inches tall.  She weighed a little less than one pound!  I have not measured her again, but I do know that she now weighs one pound, two ounces.

Her name is Roxy, and she is awesome. 

31 December 2011

they don't teach this in kindergarten

Winter is often a strange time for me.  Even though the weather has been awesome (60 degrees in December?!), I have still been a little bored and stir-crazy.  Usually, when the colder months come rolling in, I get my craft on.  I have been seeing a lot of people posting on Pinterest and other sites (here and here) about melted Crayon art.  I really like the way all of the colors blend together, and I knew I had to try it!  You simply use a hot glue gun to affix naked crayons onto a canvas and prop the canvas up at a little bit of an angle.  Then, use a hair dryer to melt the crayons into oblivion. 

I opted to paint the canvas black to add more contrast.  And I only picked out the colors I liked, instead of going for the rainbow effect.  The results?  I love it!  I just don't think this is what my Kindergarten teacher had in mind when we had "Crayon Time" in the classroom. 


Here are some helpful tips I found along the way:
1. Use a diffuser, otherwise the wax will splatter all over the place. 
2. Take your time!  You can have a little more control over the final product by directing the hairdryer in the direction you want the wax to run. 

26 December 2011

Artsy Crafty Photographic Awesomeness

I love to create, whether it be food, clothes, knitted wonders, art, jewelry, music or what-have-you.  There is just something about combining the thoughts in your head and the hands you were born with to manifest something that was not previously there that is intriguing, mysterious, and fulfilling.  When it comes to gifts, it also adds a little "Bam!" that you can't buy in a store. 

For Matt's birthday last year, I wanted to give him something especially awesome.  Family is very important to him, and I came up with the greatest idea!  Off to Hobby Lobby I went and bought black resin letters that spell out our last name.  I set up my tripod and had each of us hold one of the letters in our hands and...Voila!!


One awesome picture!  The floating frame works great for this display, but you could use individual frames or a sectioned frame as well!